|
Transferring Your Composition To Paper
While some artists are comfortable beginning a painting without any preliminary sketch, many others prefer to have their composition laid out on their painting surface before beginning to paint, particularly if they will be painting intricate details, sharp edges, or exact proportions. Whether to use a sketch, how much detail to have in the sketch, and whether to freehand the sketch or to transfer it to the painting surface are all variables an artist must consider.
One effective and time-saving method for transferring your composition to a surface is to use transfer paper. Wax free transfer paper works very well on drawing and watercolor papers and, just like graphite pencil, it is compatible with colored pencils and watercolor paints. Because watercolor and colored pencil are transparent, though, it is important that your transferred image not be too dark or it may “show throw” your finished piece, particularly under light colors. It is possible for graphite to smudge and “muddy” light colored pencil so consider gently using a kneaded eraser to lighten your transfer lines as much as possible before you begin working on the light areas in your painting.
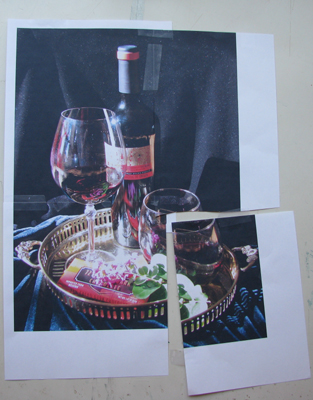
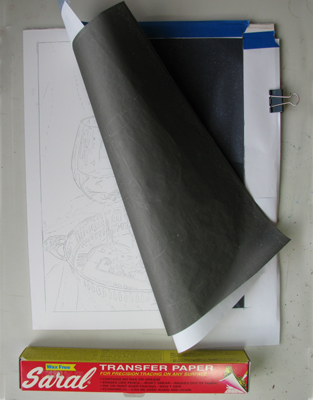
Transfer paper is used very much like old-fashioned "carbon paper". Place a piece of transfer paper color side down on your painting surface, place your pattern on top of the transfer paper, and use a pencil to "trace" the outline of your composition. Some artists have their reference photo enlarged to the size that they want their actual painting to be, use tracing paper on top of the enlargement to trace their composition, and then use the tracing paper as the pattern on top of the transfer paper. If you have a digital reference photo, you can resize your photo in Adobe Photoshop (or some other image editing software) and then print the photo and use it as a pattern on top of transfer paper. Compositions for large paintings can be transferred in a similar manner. Large digital photos can be printed in sections and then the sections can be taped together to create a pattern you can use on top of transfer paper.
Here's an Example:
|