|
|
Starting Your Painting
|
Where To Start: |
|
|
|
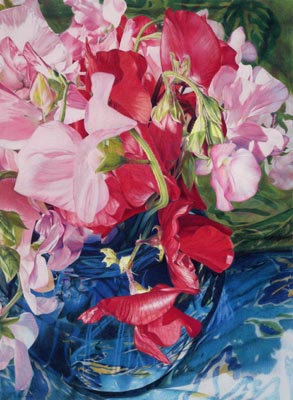
Mom's Sweet Peas |
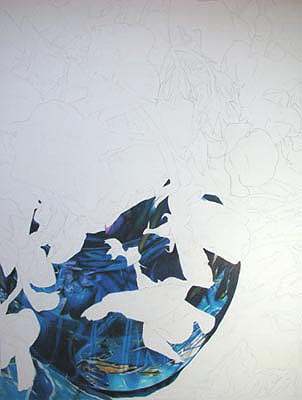
Starting Mom's Sweet Peas |
|
The colored pencil painting above, Mom's Sweet Peas, is a fairly complex, detailed composition. Starting a piece with this much detail could be overwhelming without a clear-cut plan. Sandy began this piece by putting in the darkest values first, in this case the very dark blues in the vase holding the flowers. Not only did this strategy help her to more easily gauge the values of the flowers and the rest of the background, it also helped to define the shapes of the flowers in the foreground, which are the focal point of the painting. Sandy proceeded with the blue and green background next, followed by the flowers towards the back. She painted the the foreground flowers last. Saving the focal point for last is often a good strategy because, by that time, you have had ample practice with the painting's colors and values, making errors to this important area less likely. |
|
|
|
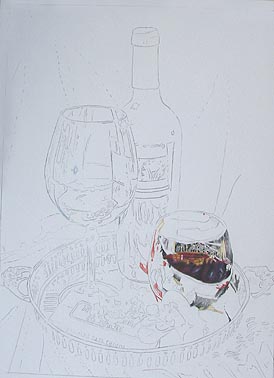
Still Life Step 1 |
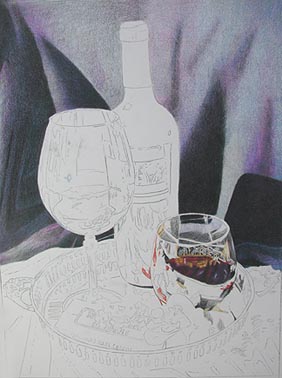
Still Life Step 2 |
|
Helpful Hints: |
|
|
|
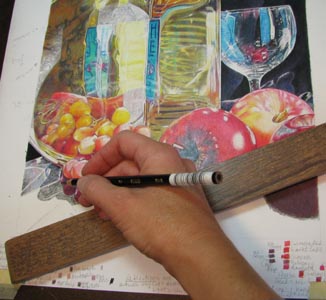
Using A Bridge |
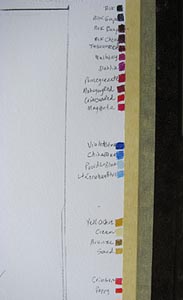
Color Test Swatches |
| Site Design by Sandy Phifer |
|
All images, web pages, and texts are protected under US and International copyright laws, and are the personal property of Sandy Phifer. |